Mi primera blusa! Aunque es bastante mejorable estoy muy contenta con mi blusa mostaza. El color es fantástico y por fin tengo una blusa que me queda bien. Ni larga, ni corta, ni demasiado ajustada, ni me hace arrugas en sitios raros... El largo es ideal para llevarla por fuera o por dentro, y la media manga me viene muy bien para este tiempo. Es un poco entallada, lo justo para insinuar la cintura
(o lo que antes de los embarazos era una cintura). Con el lazo tengo un poco de batalla porque no sé como atarlo sin que parezca un nudo, creo que cuando encuentre el punto justo lo coseré.
Y pasamos a las tecnicalidades. Es el modelo Burda del que ya os hable
aquí. Le he hecho algunas modificaciones al patrón, algunas mejores y otras no tanto. Acorté el largo y me ha quedado "a mi gusto". Luego tuve un mal día e hice dos tonterías: Decidí hacerme una manga larga pero cuando corté la tela no tenía suficiente así que me quedé a medio camino. Luego, como tenía menos tela que antes, acorté el lazo, tanto en ancho como en largo, y por eso es tipo corbatilla asistente de vuelo Ryanair. Es diferente al modelo de la revista pero tiene un aire 50s que me gusta.
***
My very first mama top! Although it didn´t turn out as planned I´m so happy with it. The colour is fantastic and I have, finally, a top that really fits me. It´s just the right length, snug but not tight and I can wear it tucked inside my skirts or with jeans. It insinuates the line where I once had a waist so that is a bonus. I lost the battle with the neck tie but it´s my own fault. I made two alterations to the pattern that almost ruined the look of it. I lengthened the sleeves on the pattern but when I traced it onto the fabric I realised I didn't have enough fabric. So I compromised halfway. Then I found out I had even less fabric for the tie so I had to join two strips on the bias and make it shorter and thinner... well, it looks fine but I should have planned better, I know. When I first tried it on I looked like a petite version of a Ryanair flight attendant, but when I got two comments on BurdaStyle saying it had a retro style I was happy again! 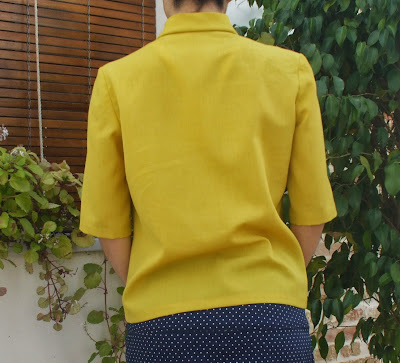
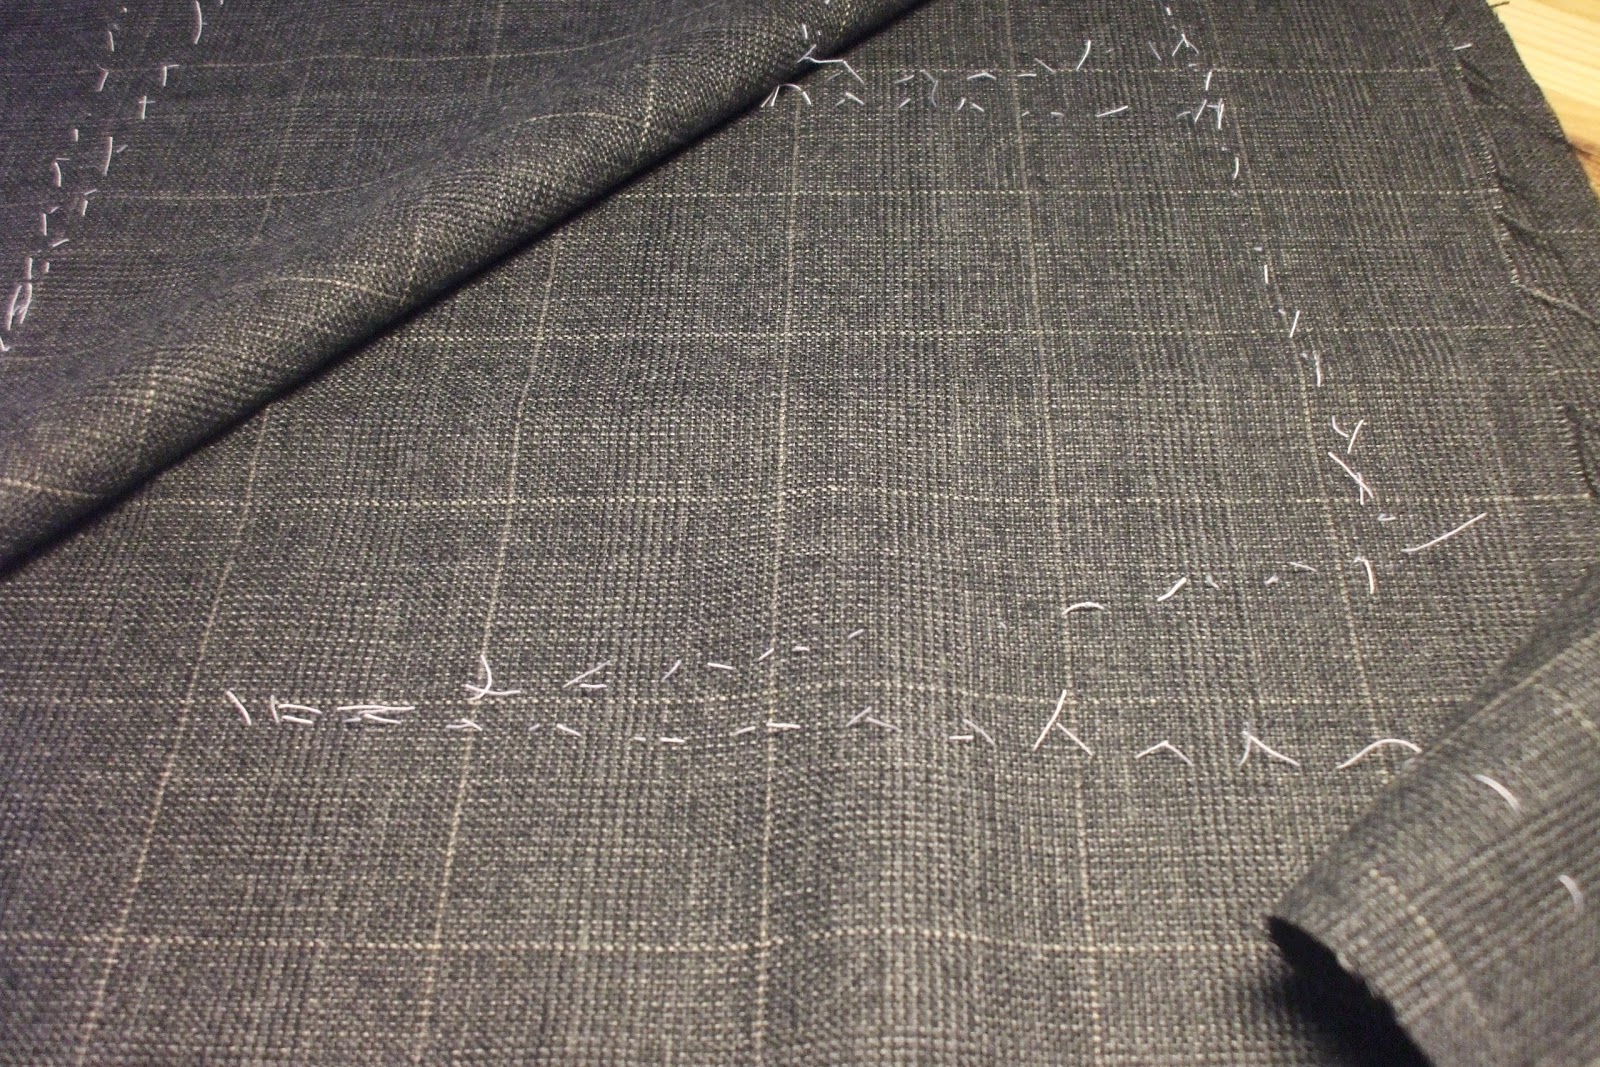
Pero lo importante de esta blusa es que he cosido mi segundo par de mangas!!! Embebí la copa entre los puntos, repartí bien los frunces, la prendí con alfileres, la hilvané a mano, luego la hilvané con la máquina, y cuando ya no existía ninguna otra forma de sujetarla a la sisa la pespunteé con mano temblorosa. Y me salió regular. Muchas arruguitas. Lo volví a hacer y salió un poco mejor. A la tercera me di por vencida y pensé que las arruguitas se irían al planchar. La planché con tanto vapor que me sirvió para una limpieza de poros, dándole bien a la costura hasta que la puse planita y adiós arrugas. Luego vi que la tela hacía una especie de bolsas en la costura de la sisa...ya no podía mas así que mandé un SOS:
"Yo: Cómo se montan estas dichosas mangas para que no me salgan tipo Blancanieves? Cual es el truco?
Mamá: Pues las embebes (hecho), las frunces (hecho), las planchas....ese es el truco, si las planchas antes de montarlas quedarán mejor. Y si la planchas después ten cuidado no estires la costura porque están al bies y darán de si y te saldrán bolsas y no quedará bien...
Yo: Vale, de los errores se aprende."
***
But the important thing about my blouse is that I have sewn my second pair of sleeves!! I encountered the usual problems which is fine because it means I know more than before. My big mistake was that I pressed the seam too much, and I distorted the fabric. I showed it to my Mum and although she approved of the result, she advised to press the fullness of the sleeve BEFORE sewing it to the body. That way you would avoid pluckers and nasty catchings, she wisely said. Lo mejor:
- El color y lo bien que me queda
- Ya me la he puesto tres veces, con vaqueros, faldas... es muy mi estilo. En la foto la llevo con esta falda.
- El largo tonto de manga. Perfecto para el invierno de Sevilla
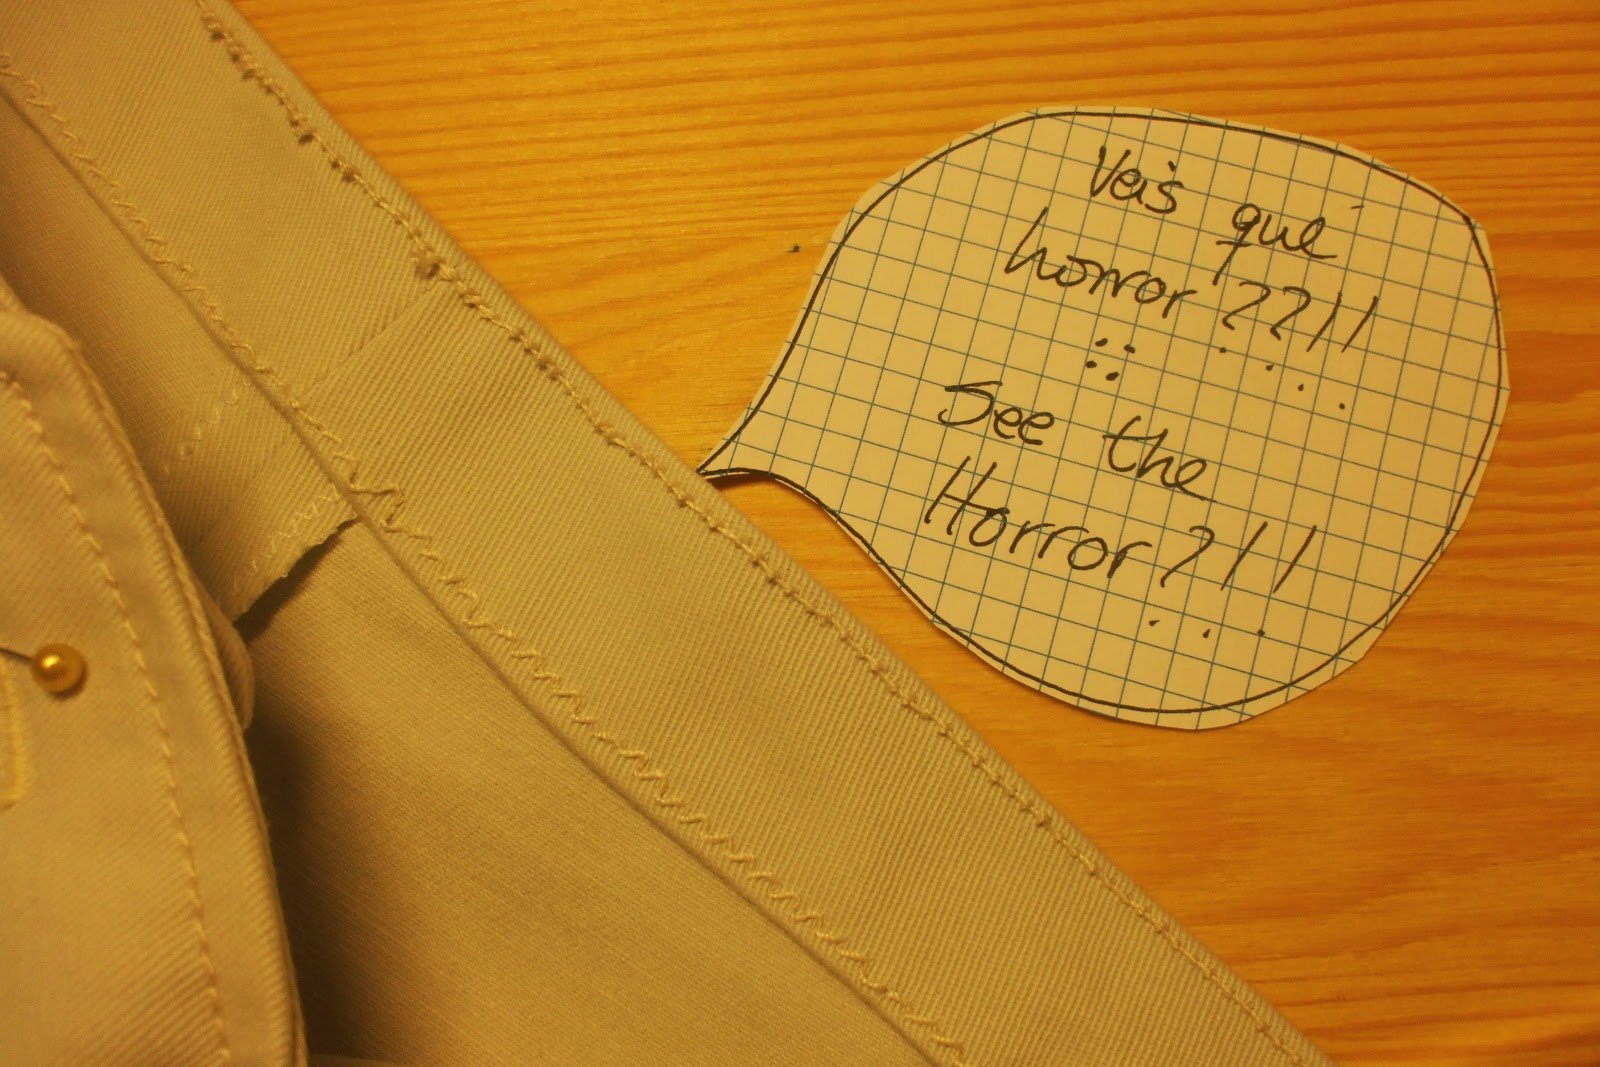
Lo peor:
- La tela pica y es muy tiesa. Es horrible, basicamente. Tiene demasiada fibra sintética.
- Las mangas hay que montarlas mejor
Y ya estoy maquinando otros dos proyectos.
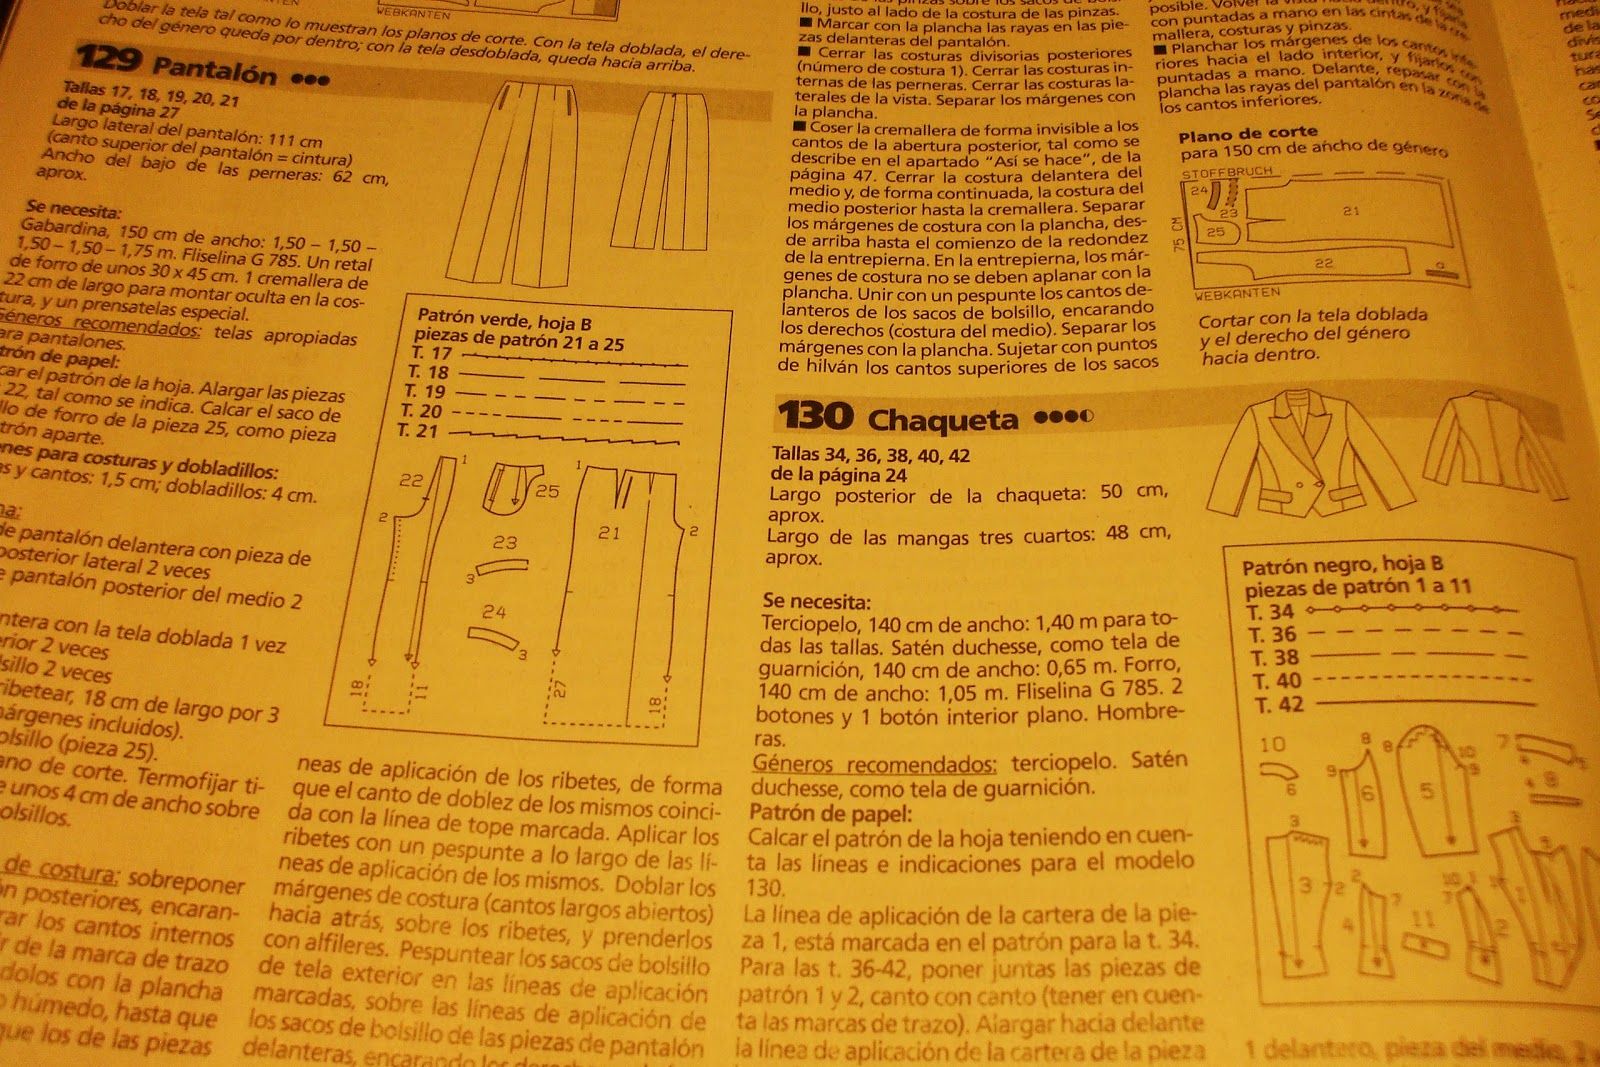
Esta chaqueta para mis niñas en piqué celeste y
este pantalón para mi. El sábado fui a comprarme la tela, una lana fría gris muy clásica y preciosa. Ya os contaré.
***
The best
- The colour and The fitting
- I have worn it non stop since I finished it. In the pic I wear it with this skirt
- In the end the sleeve length is just perfect
The worst- The fabric has so much synthetic fibre contents that is stiff and feels itchy. It´s horrible basically.
- Pressing the sleeves forcing the fabric to stay flat. Gentle next time. Promise.
Now I´m cooking this jacket in baby blue for my little girl and these pants for me. Its a curious pattern from the last issue of Burda, because it has the side seams at the back, so they´re not really side seams... I´ll show you next time.